Welcome to CHIME: A ceramic art installation.
Please be sure to read this page thoroughly for care and feeding tips for your CHIME. It’s especially important to read the unboxing and hanging instructions before you get started.

Unboxing Your CHIME.
CHIME is made of fired clay. Think of it as a ball of ceramic plates, tied together with rope, and you are about to remove them from your box. It’s delicate and we strongly recommend you follow these instructions to avoid any breakage. Please read them all the way through before starting to unbox or hang your CHIME.
If your CHIME arrives broken, we will gladly replace it, but we will NOT be able to replace a CHIME that is broken or damaged after arrival. (Please see the CHIME Guarantee below or our Order Polices for more details on this.)
What you need: Your boxed CHIME, a box cutter or small blade, a large quilt or towel, and a partner/helper.
Step One:
Determine where you plan to hang your CHIME and move your box directly under that location.
Step Two:
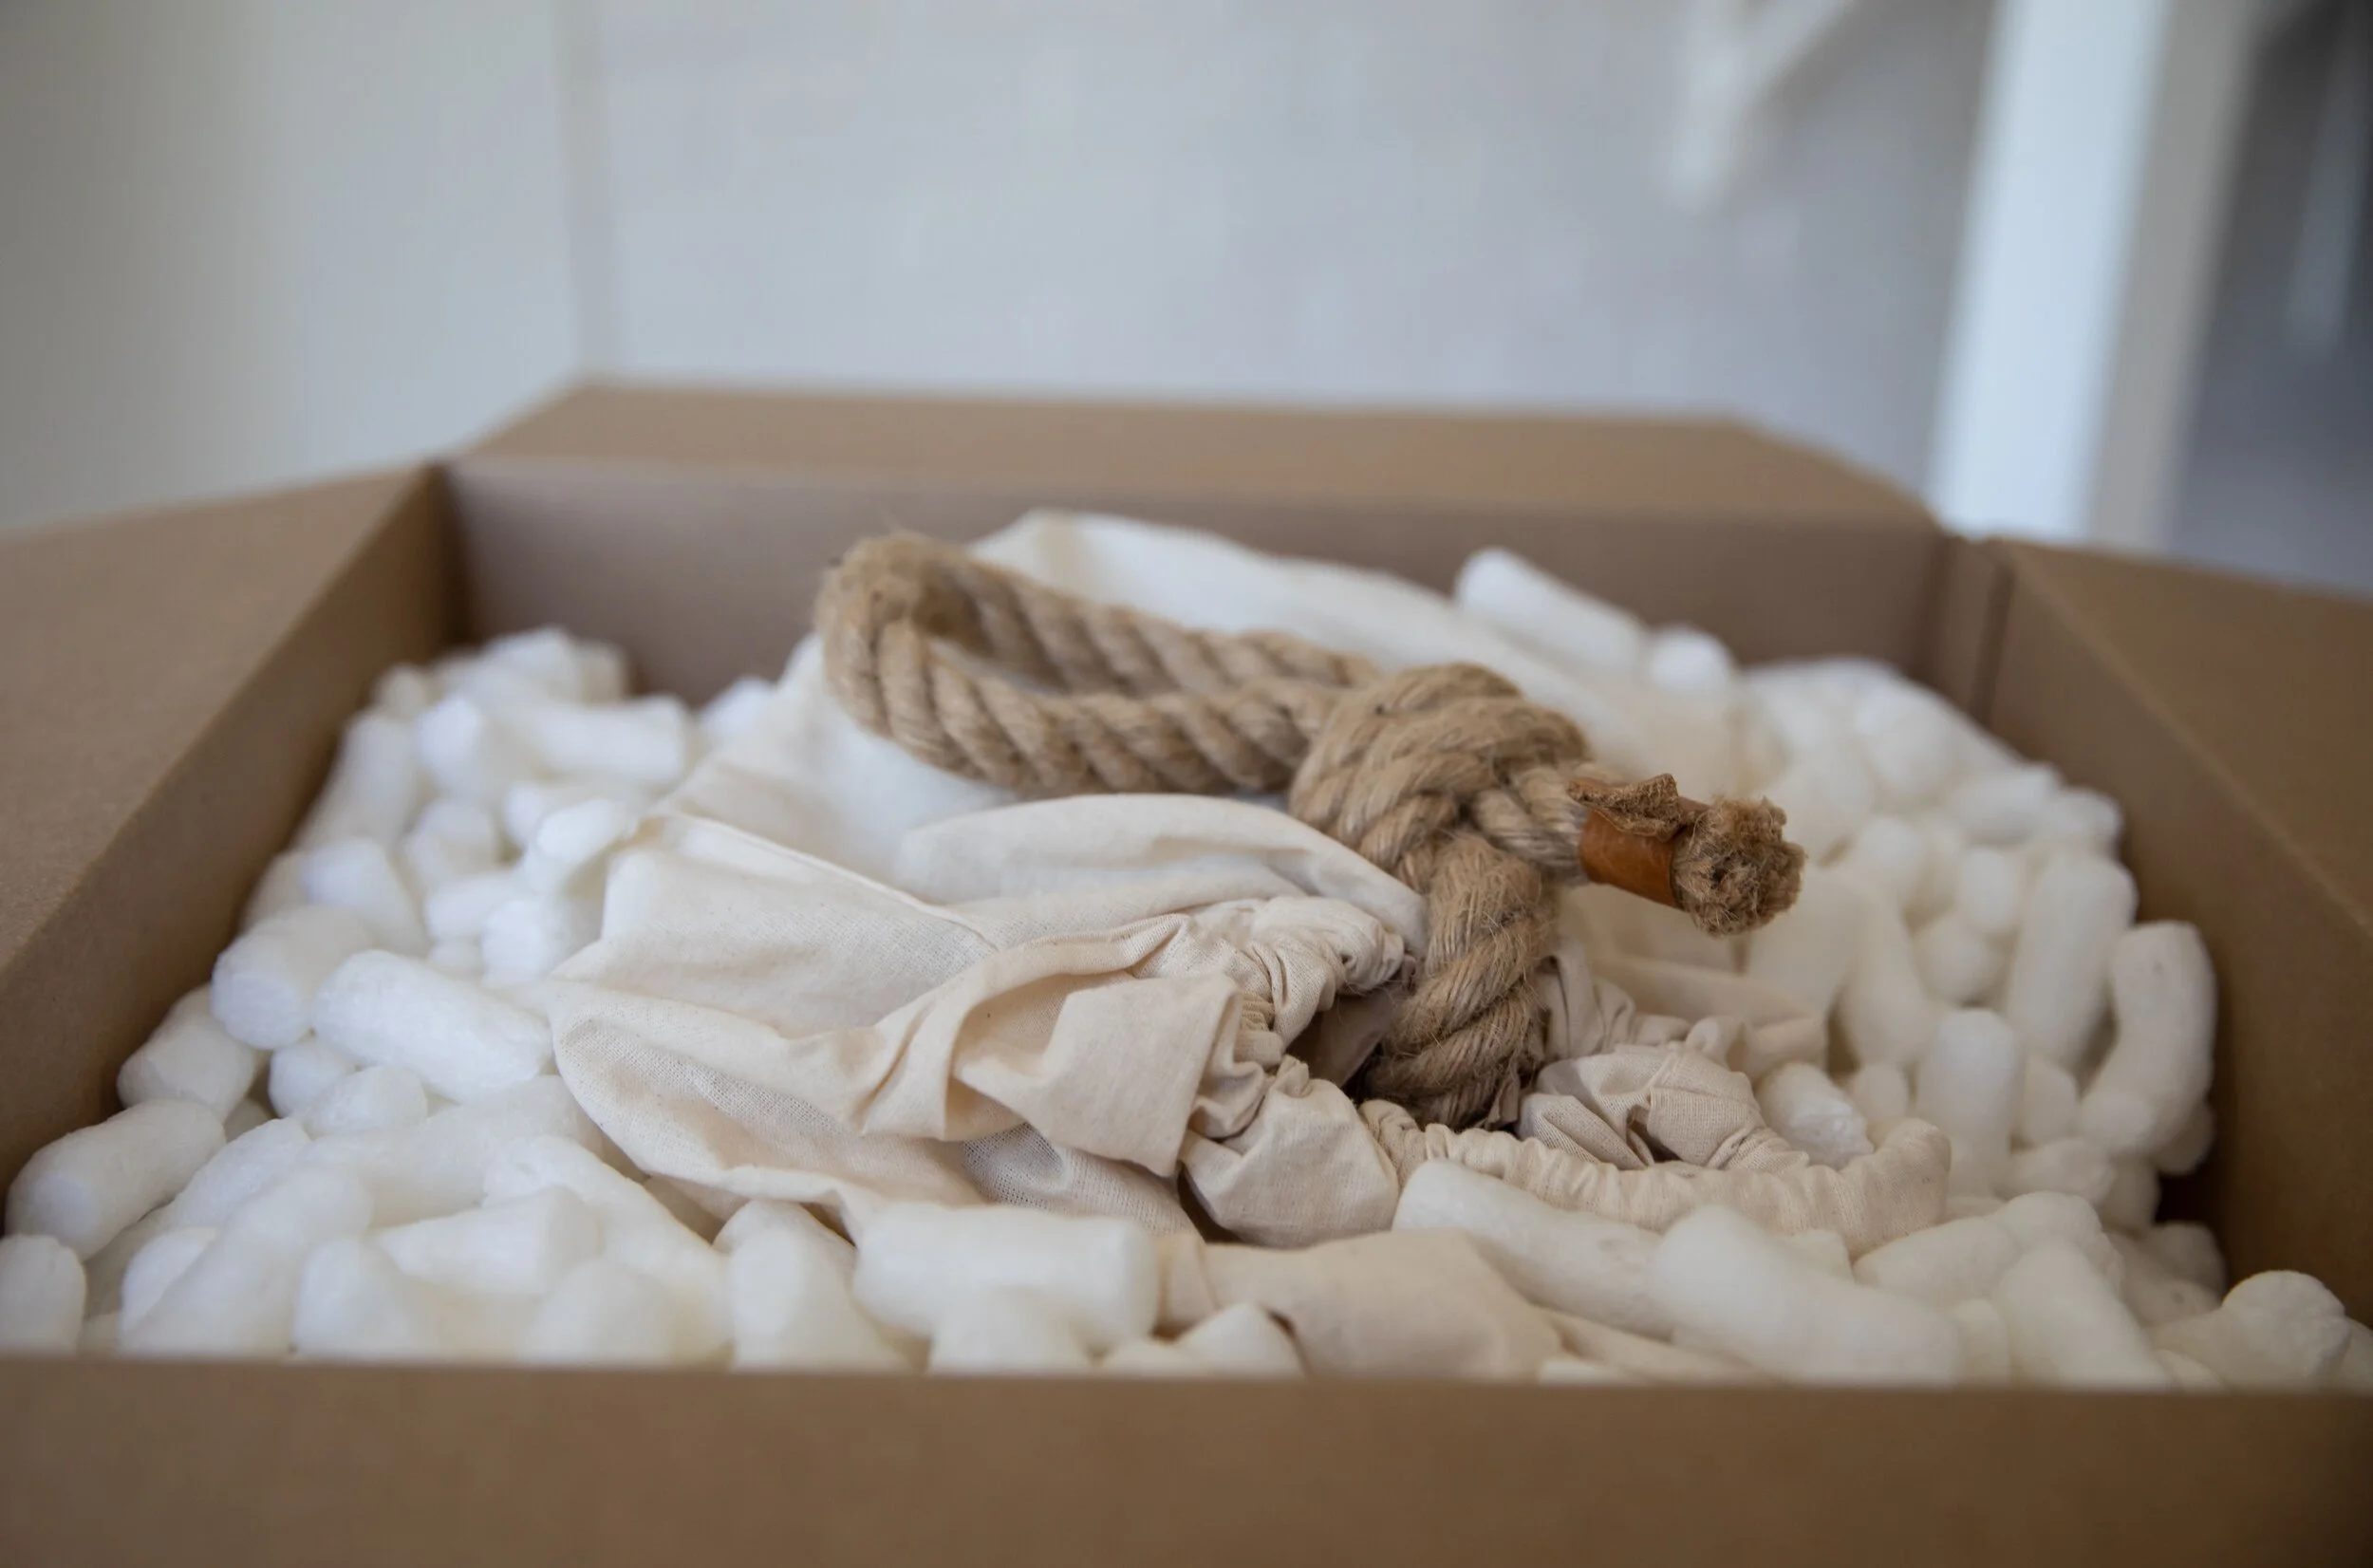
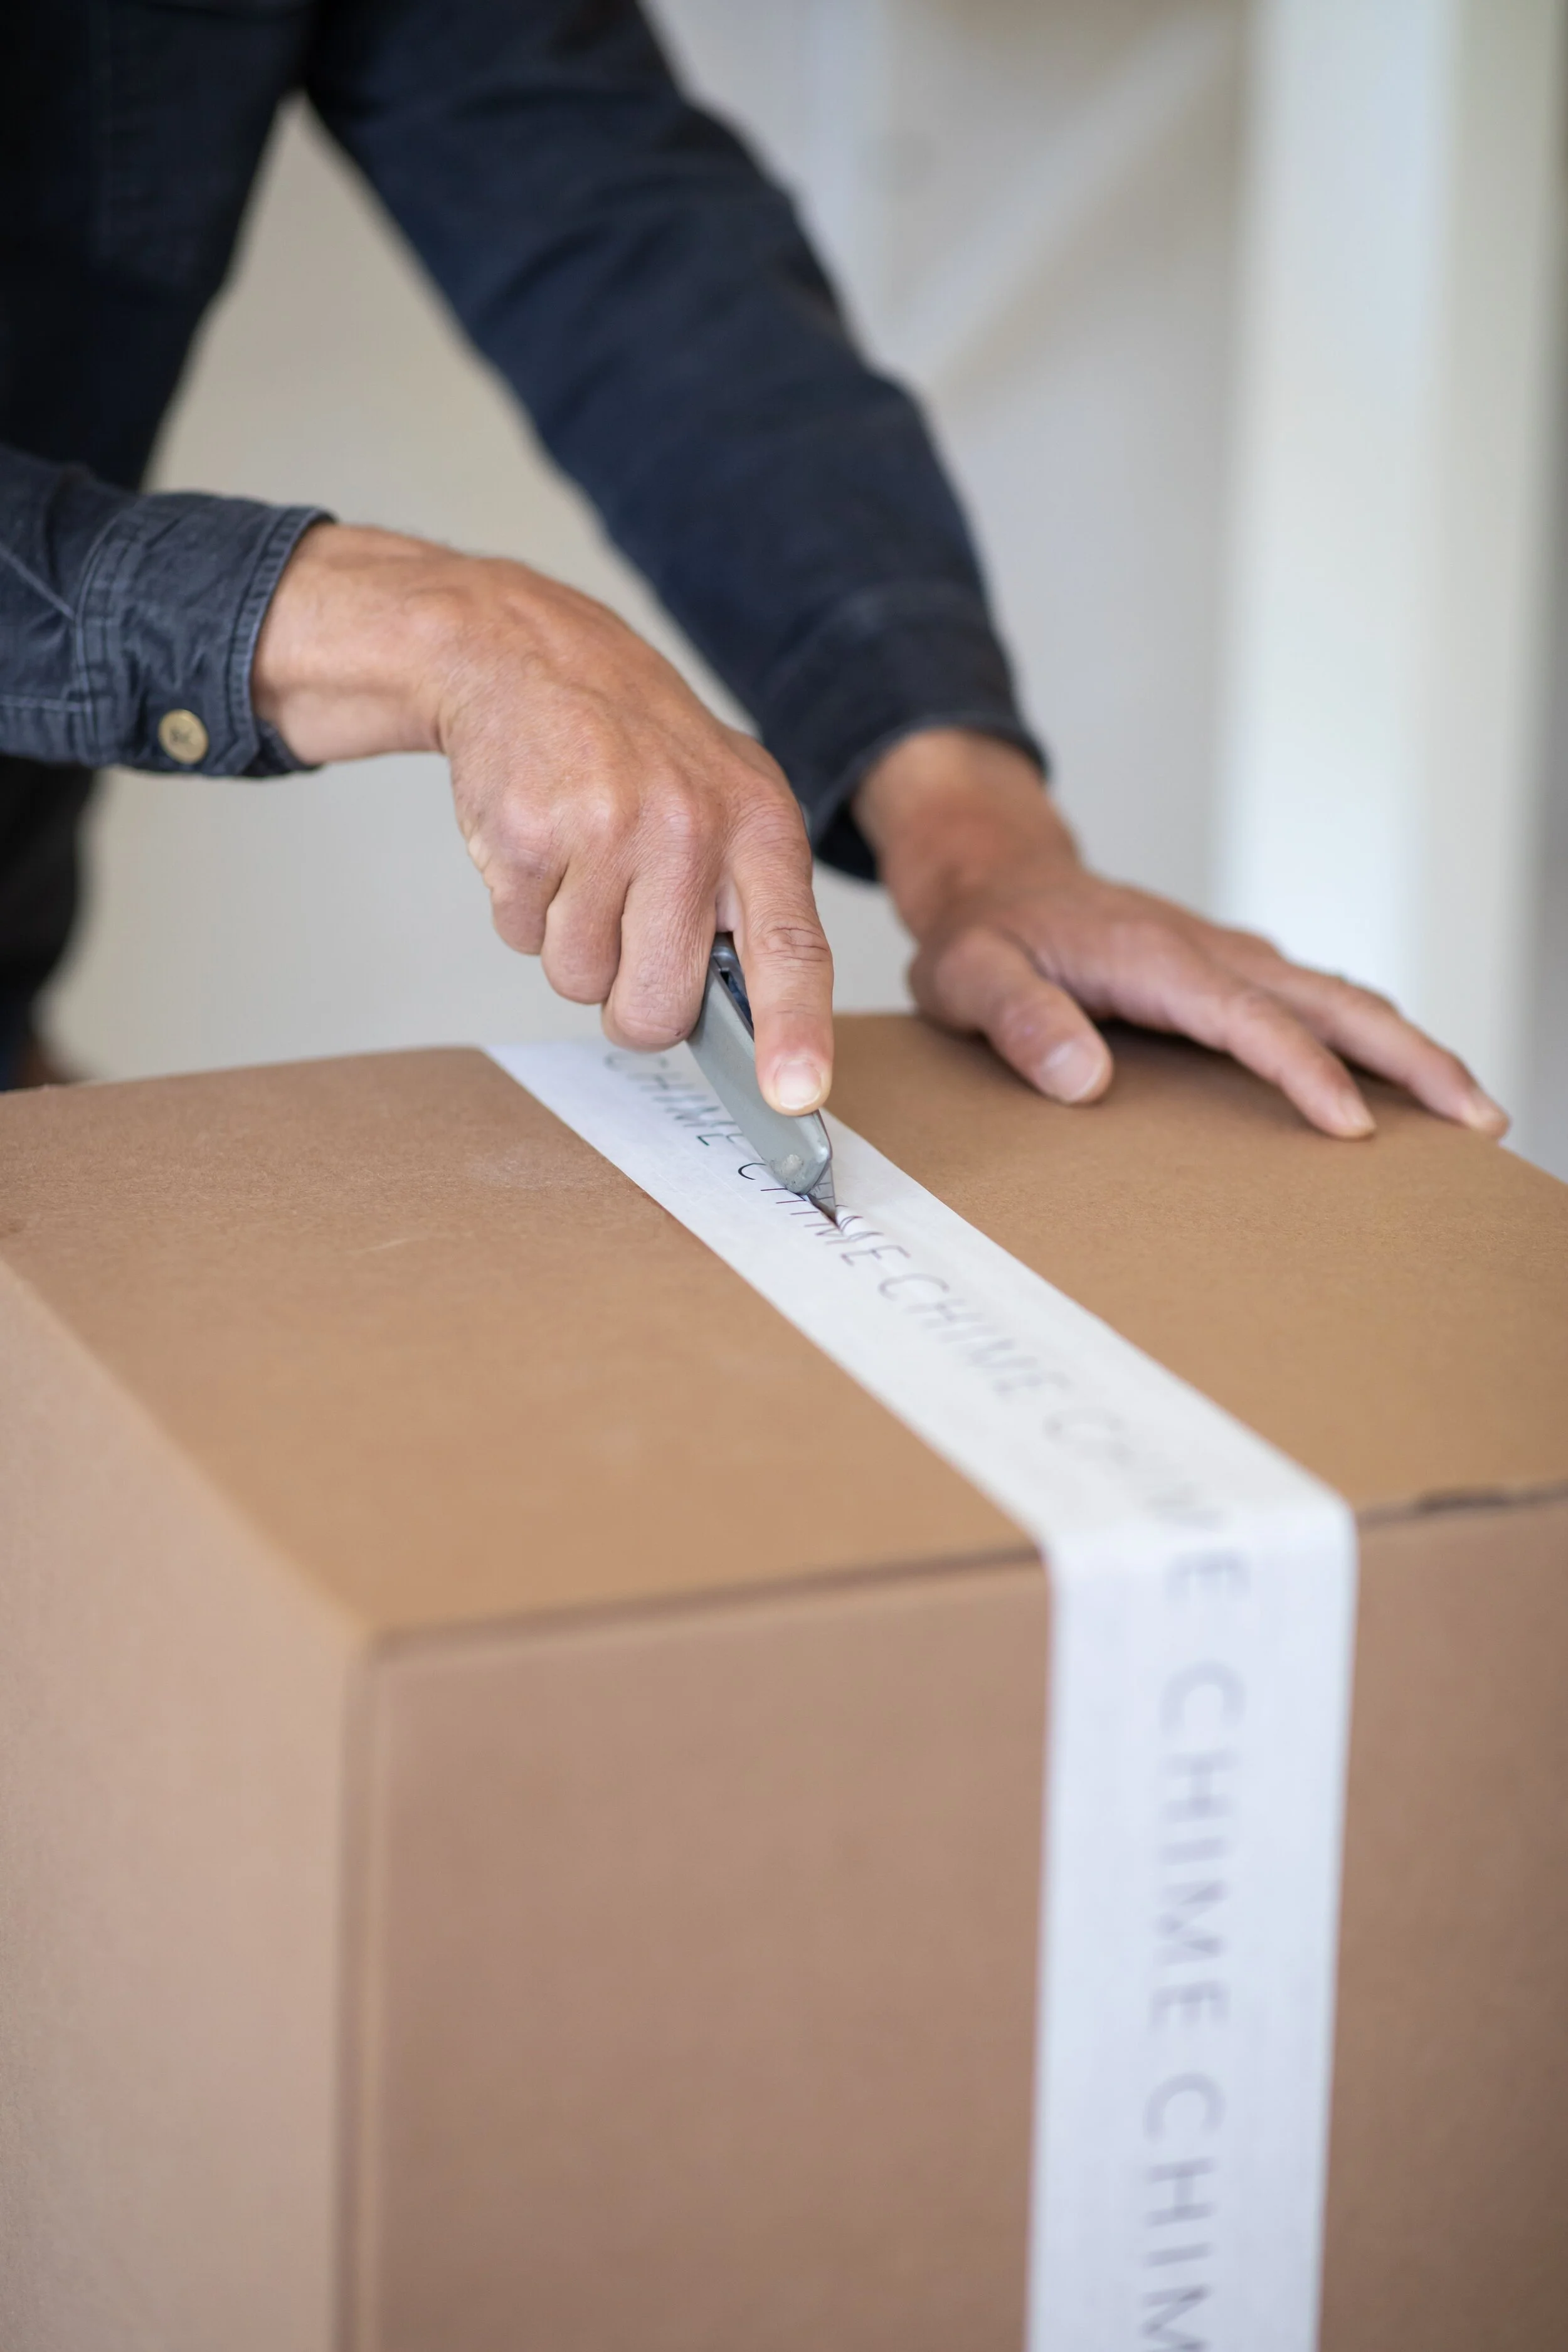
Open the top of your box with a shallow cut. Be careful not to cut too deep or you might knick the rope or leather. Remove the cardboard insert which was holding this manual and your hook. Carefully slide the rope end through the cut slit in the cardboard insert.
Step Three:
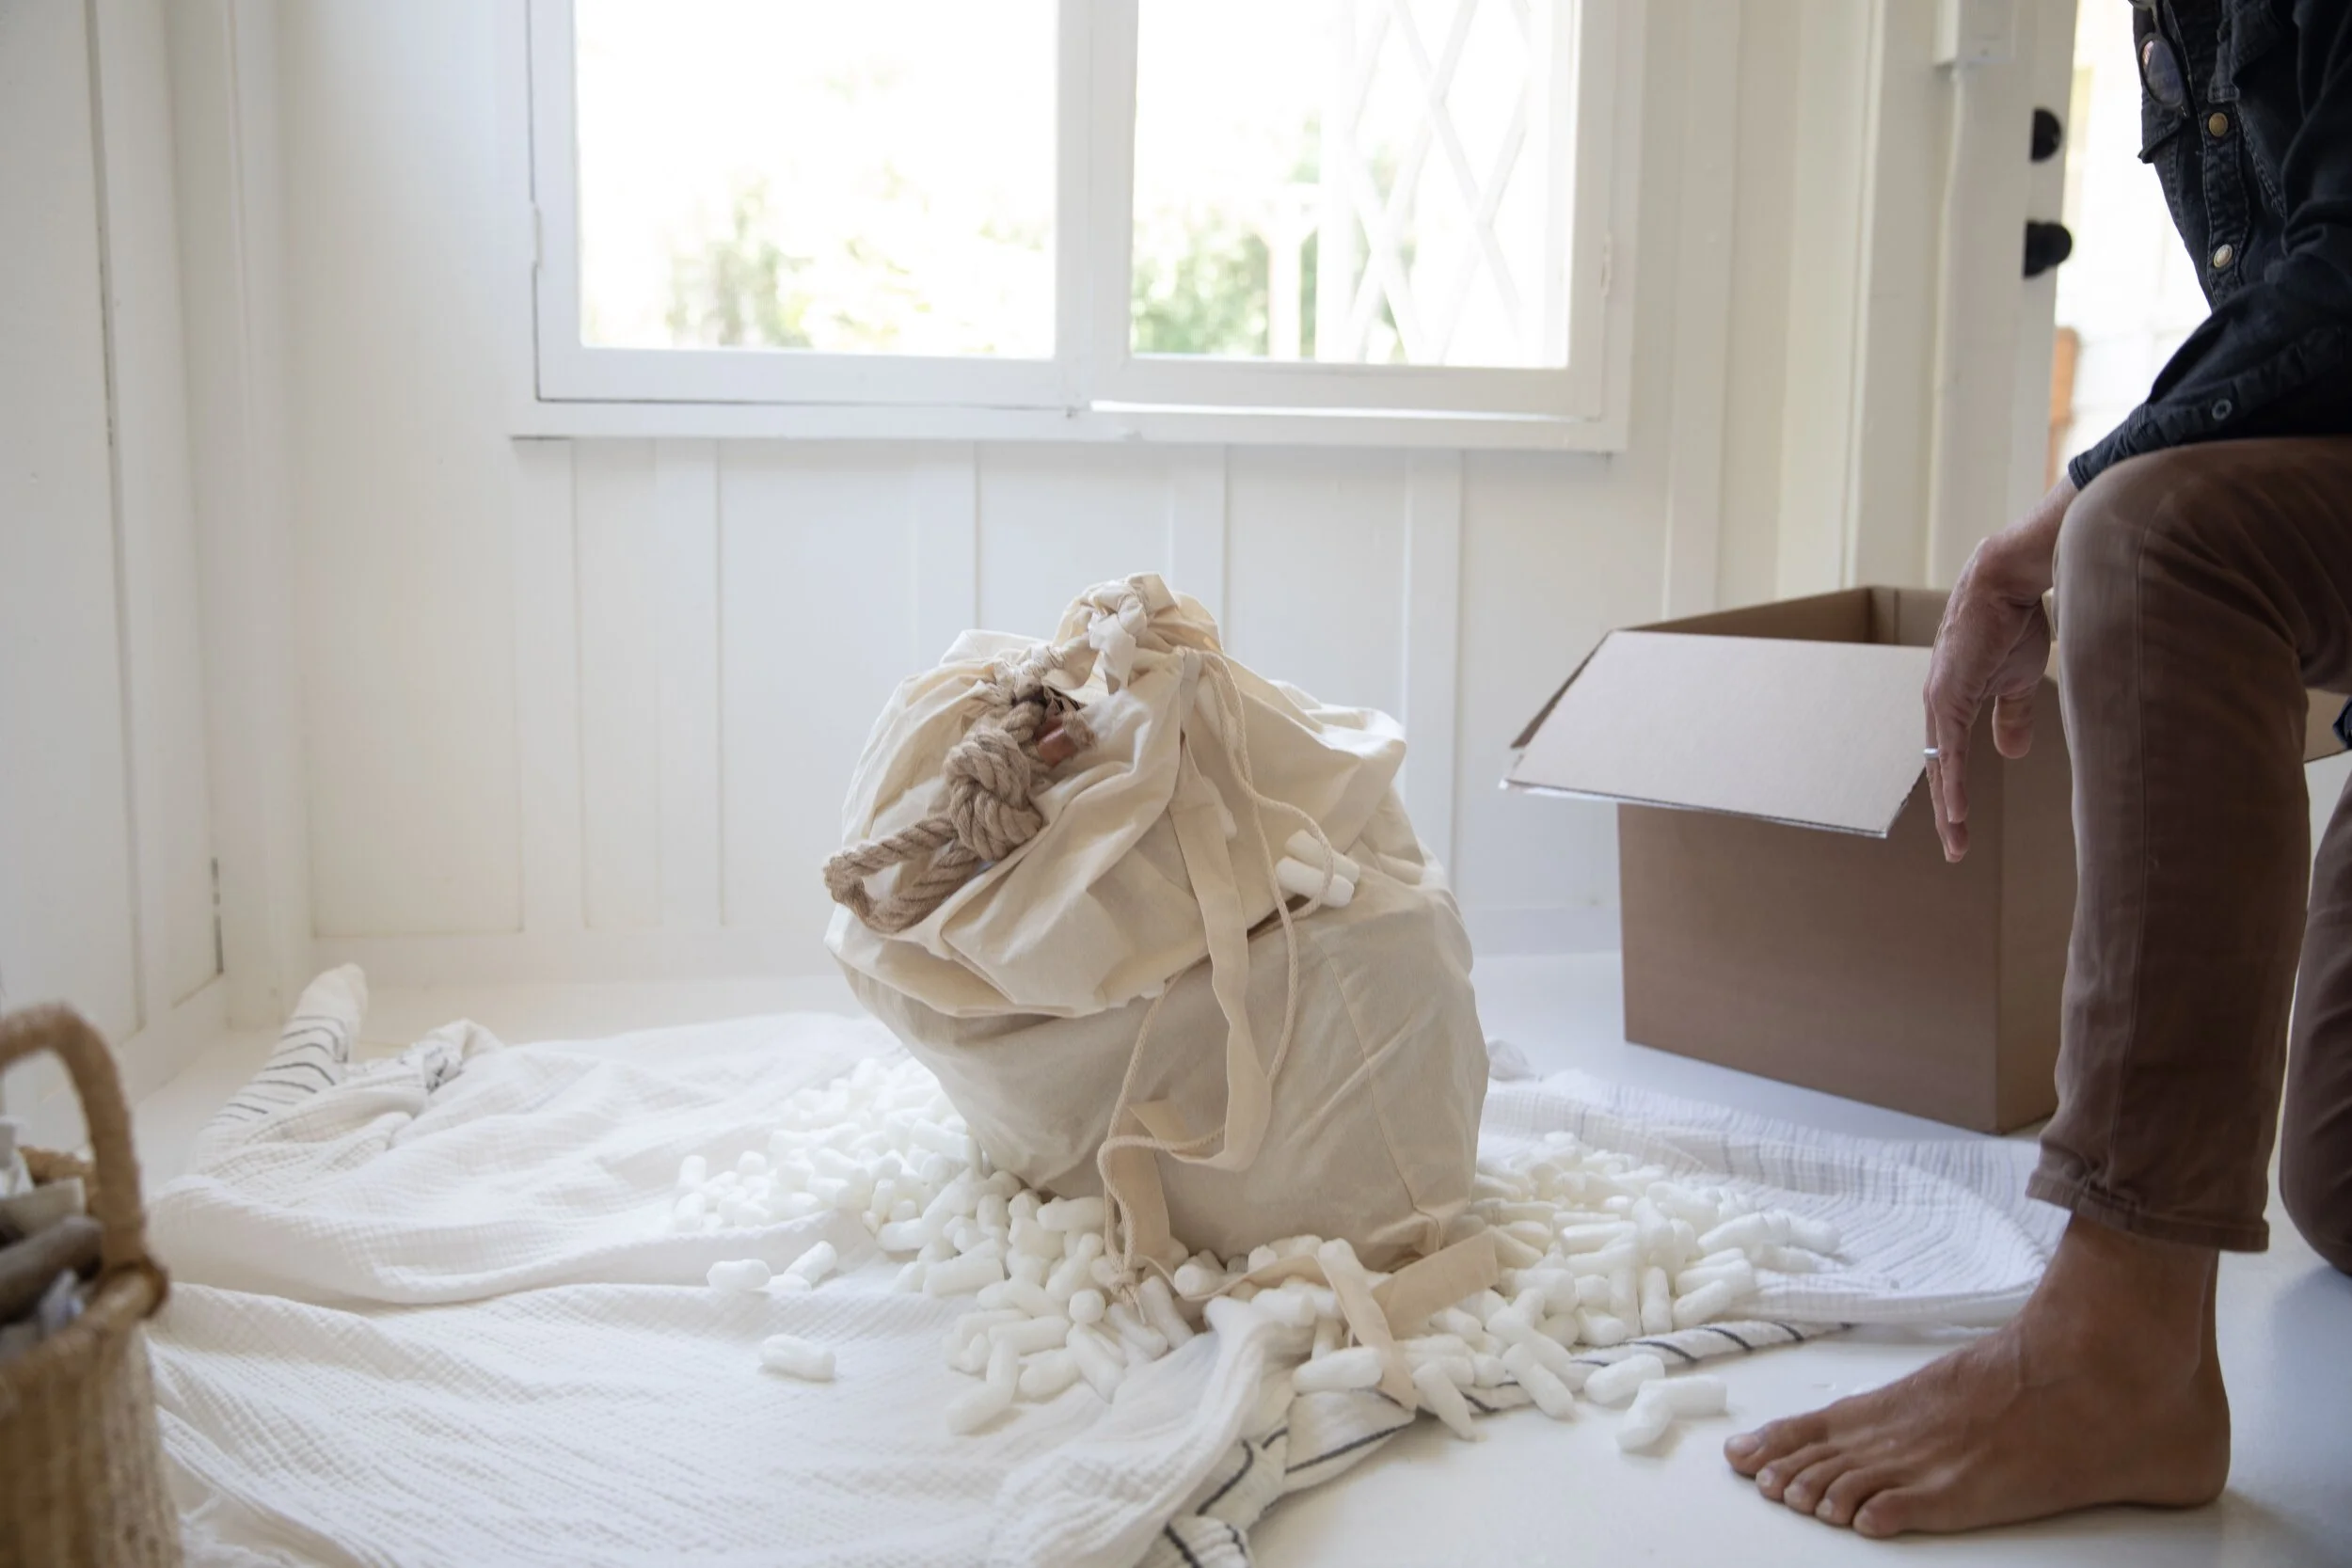
Lay a large quilt or towel on the ground next to your box and near where you plan to hang your CHIME and remove the muslin bag (your CHIME is inside the bag) by holding the top of the muslin bag and slowly pulling it vertically. CHIME weighs between 20 and 30 pounds, so we suggest getting someone to help you with this part. Carefully set the muslin bag on the edge of the quilt.
Step Four:
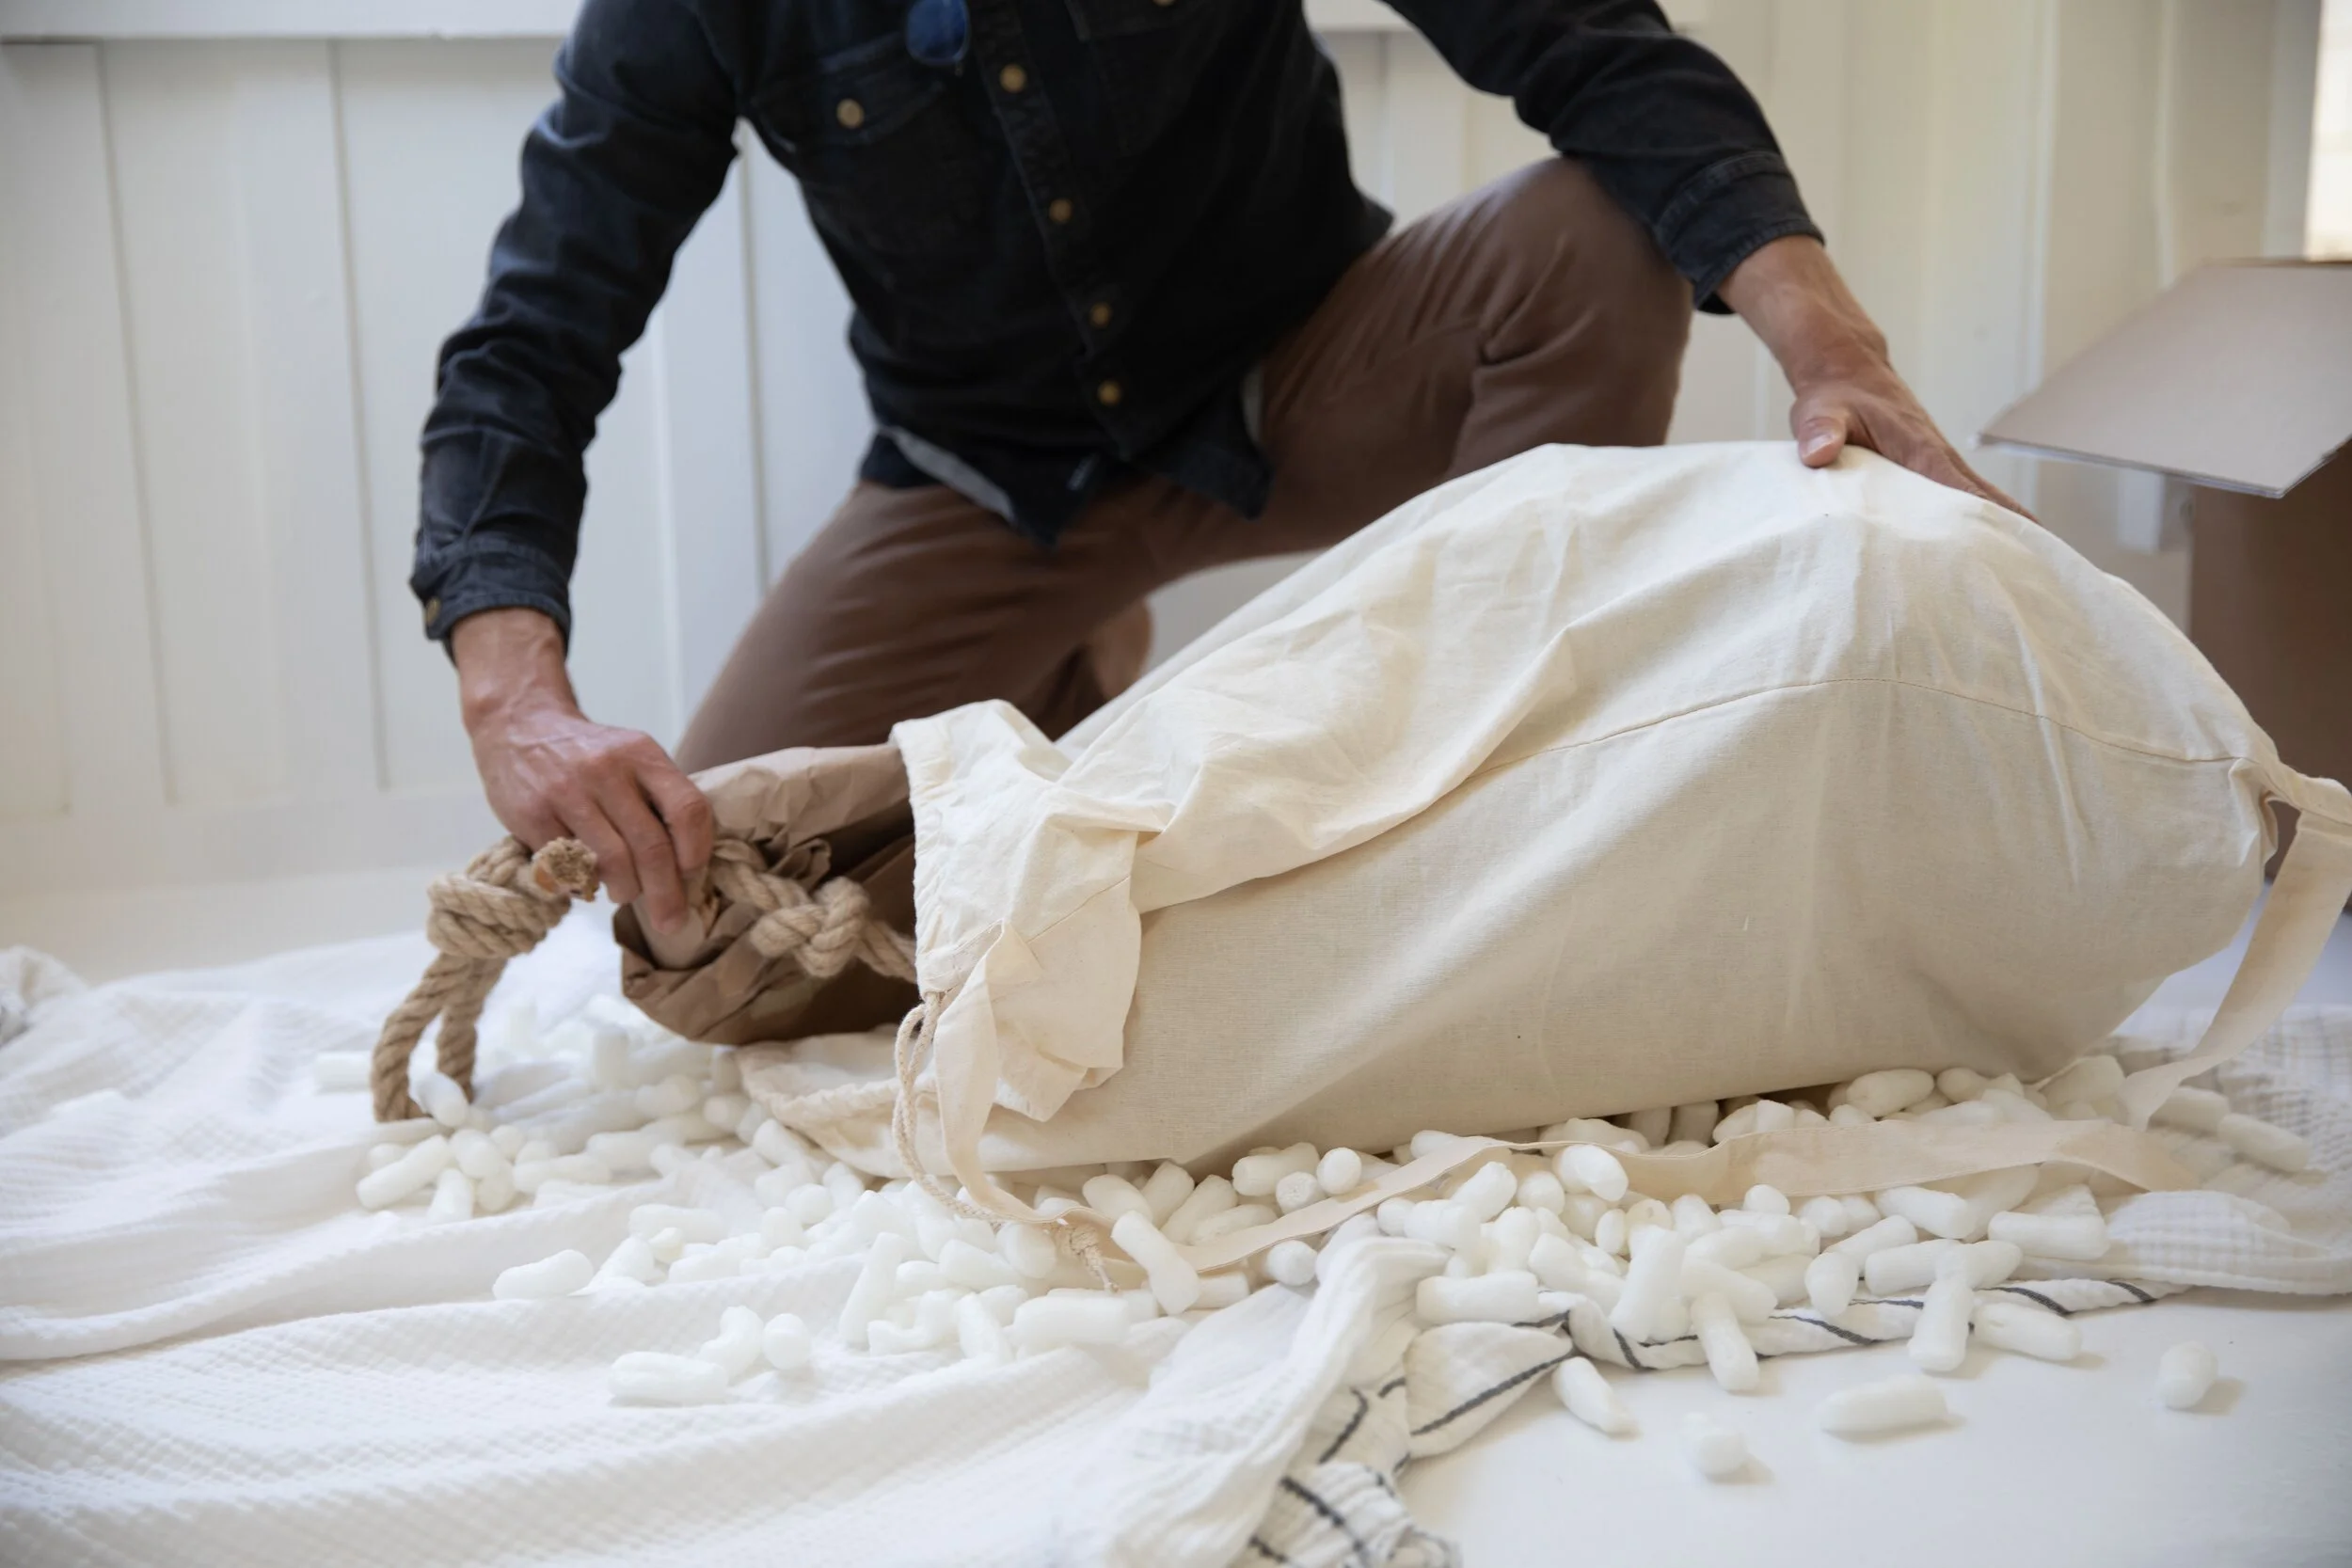
Slowly tilt the muslin bag on its side, open it, and begin to remove your CHIME from the bag, laying each individual chime on the quilt (not stacking them), until the whole CHIME has been removed from the bag. Your CHIME will be covered in butcher paper and packaging. This is normal.
Hanging Your CHIME.
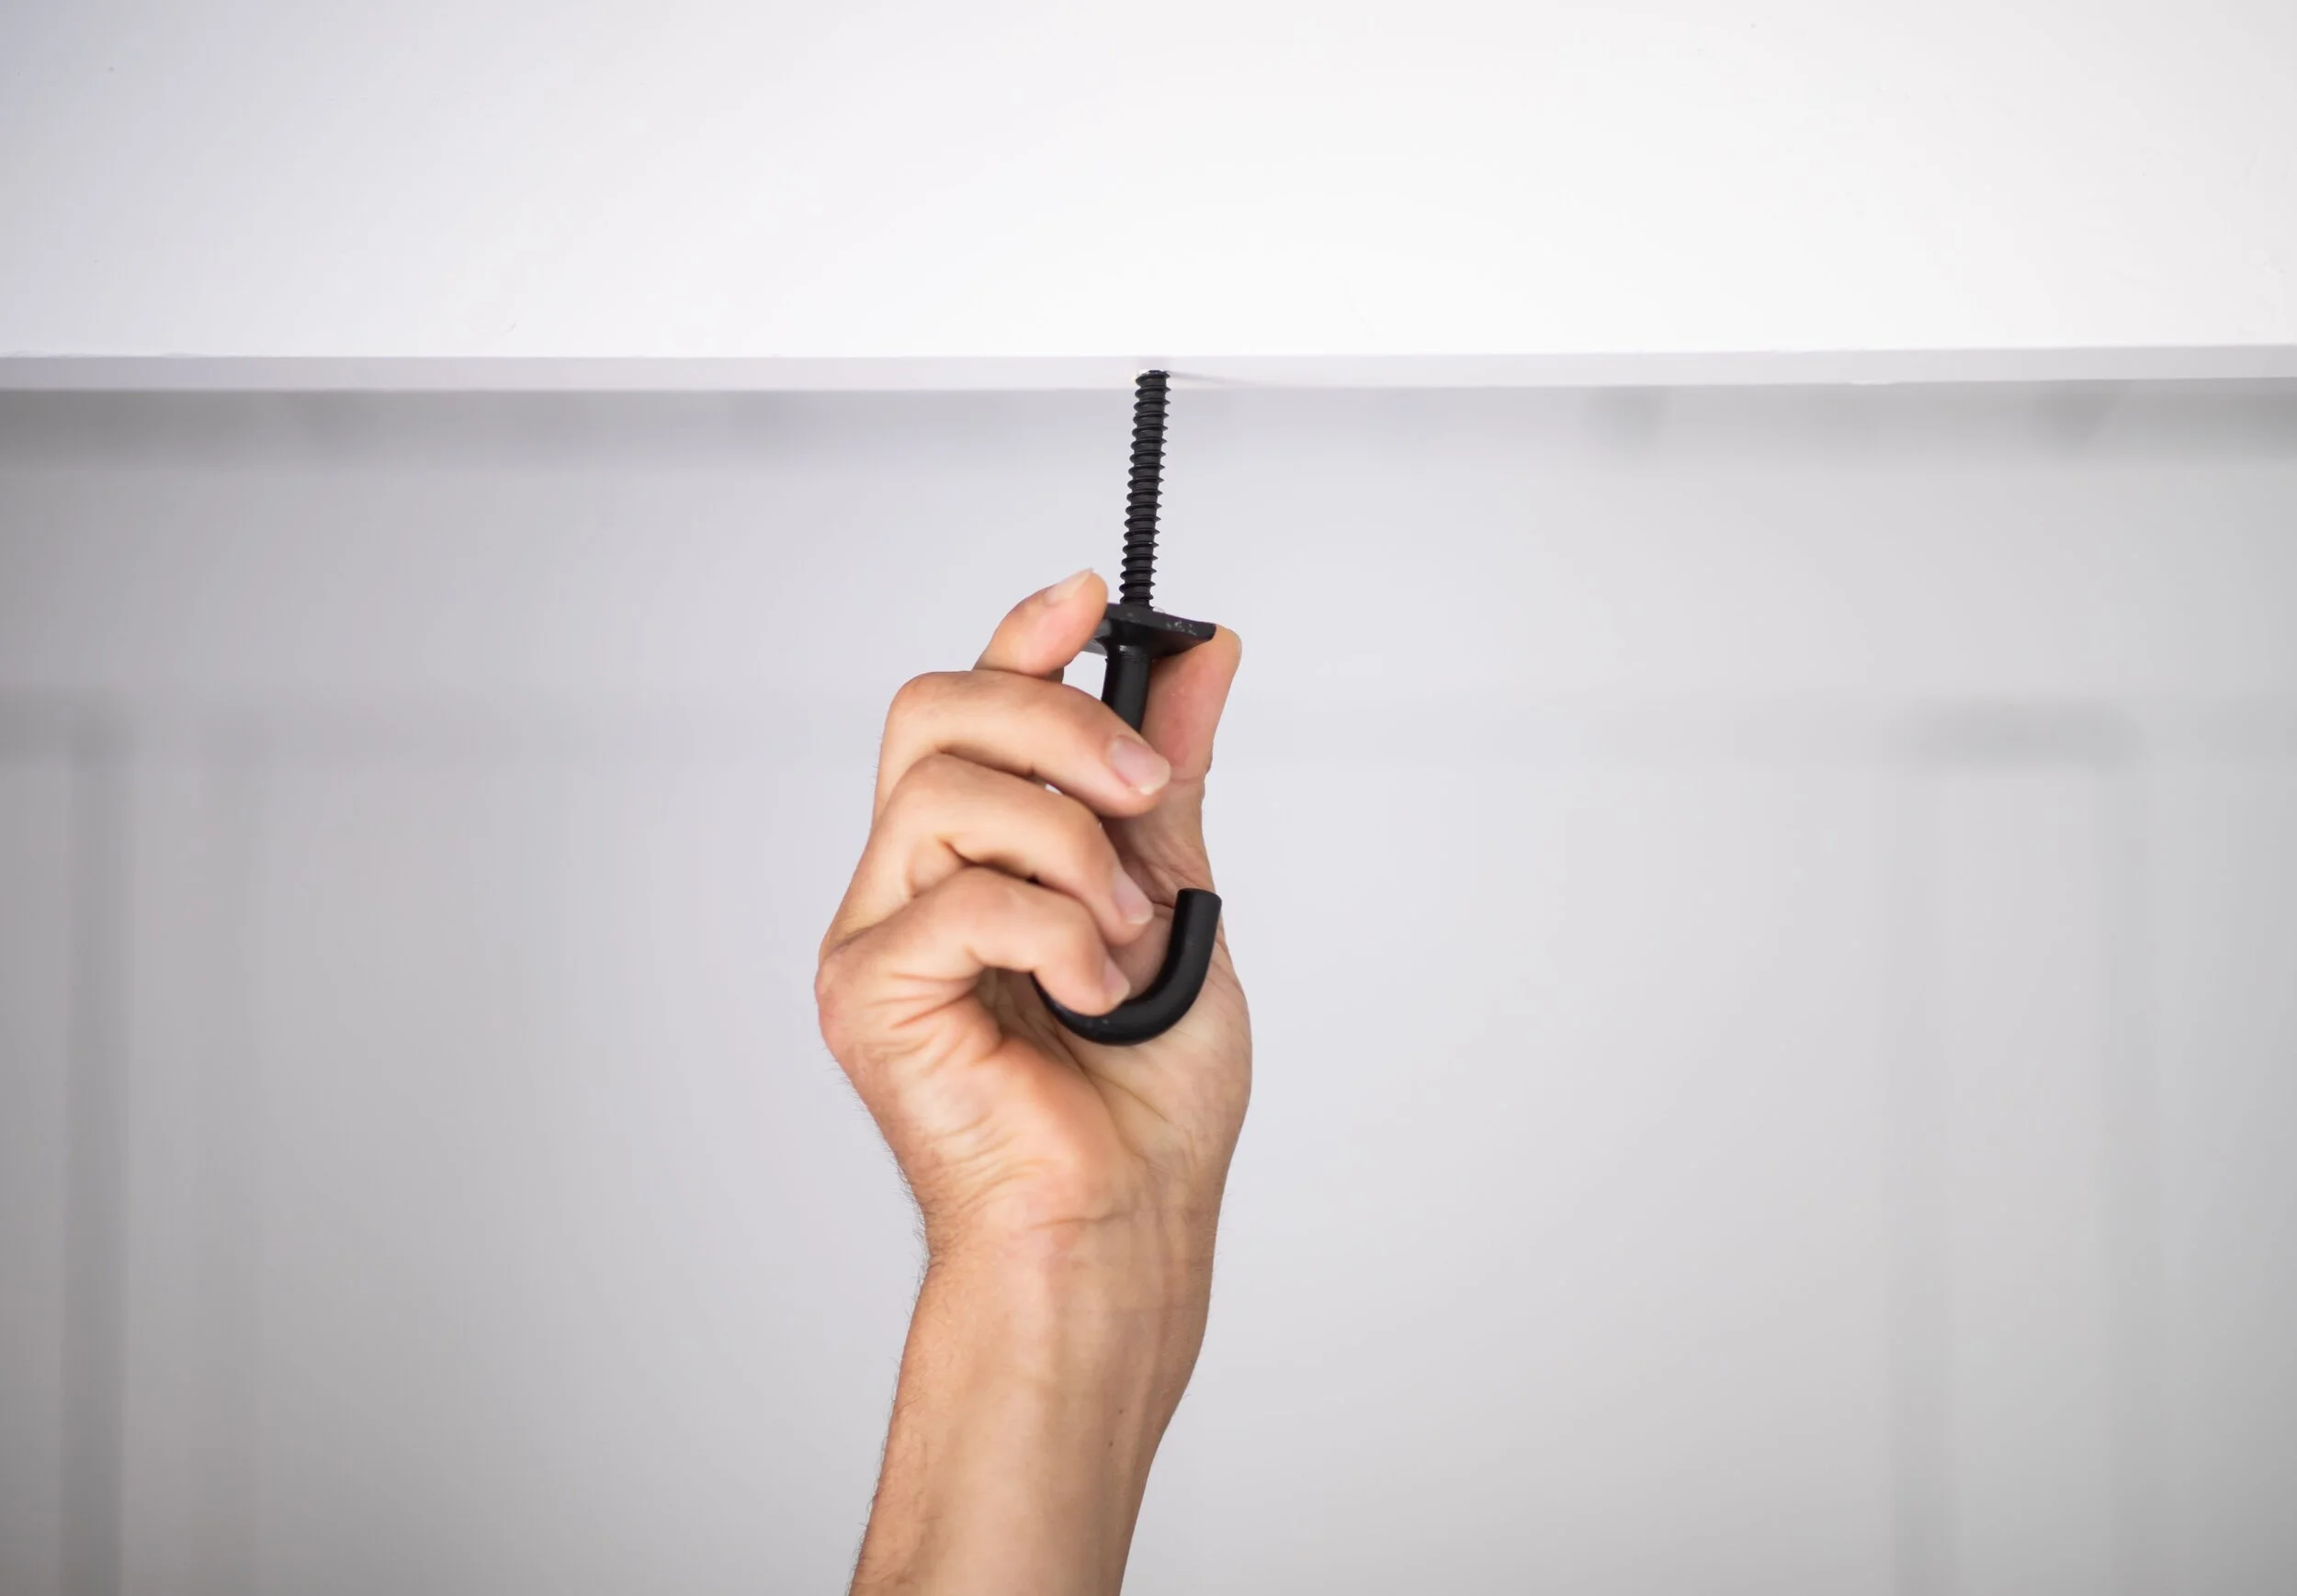
Included with your CHIME is a hand forged metal hook that can be installed by you or a professional. We strongly encourage you to work with a handyman or art installer to hang your CHIME. We are not responsible for injury or damage to your ceiling or to your CHIME that results from improper hanging.
What you need: Your unboxed CHIME which should be laying on a quilt beneath the place you plan to hang your CHIME, a drill, a 3/16-inch drill bit, a screwdriver or other long-and-slender metal object for leverage, a stud-finder (unless you are installing in an open beam), a ladder and a helper.
Step One:
Determine where you want to hang your CHIME and, using a ladder, locate a joist or beam in that area. Only hang CHIME in a joist or beam. CHIME is NOT designed to hang in drywall and will fall down and break if you hang it in drywall.
Step Two:
Mark your CHIME location and then pre-drill into the stud or beam with a 3/16-inch bit.
Step Three:
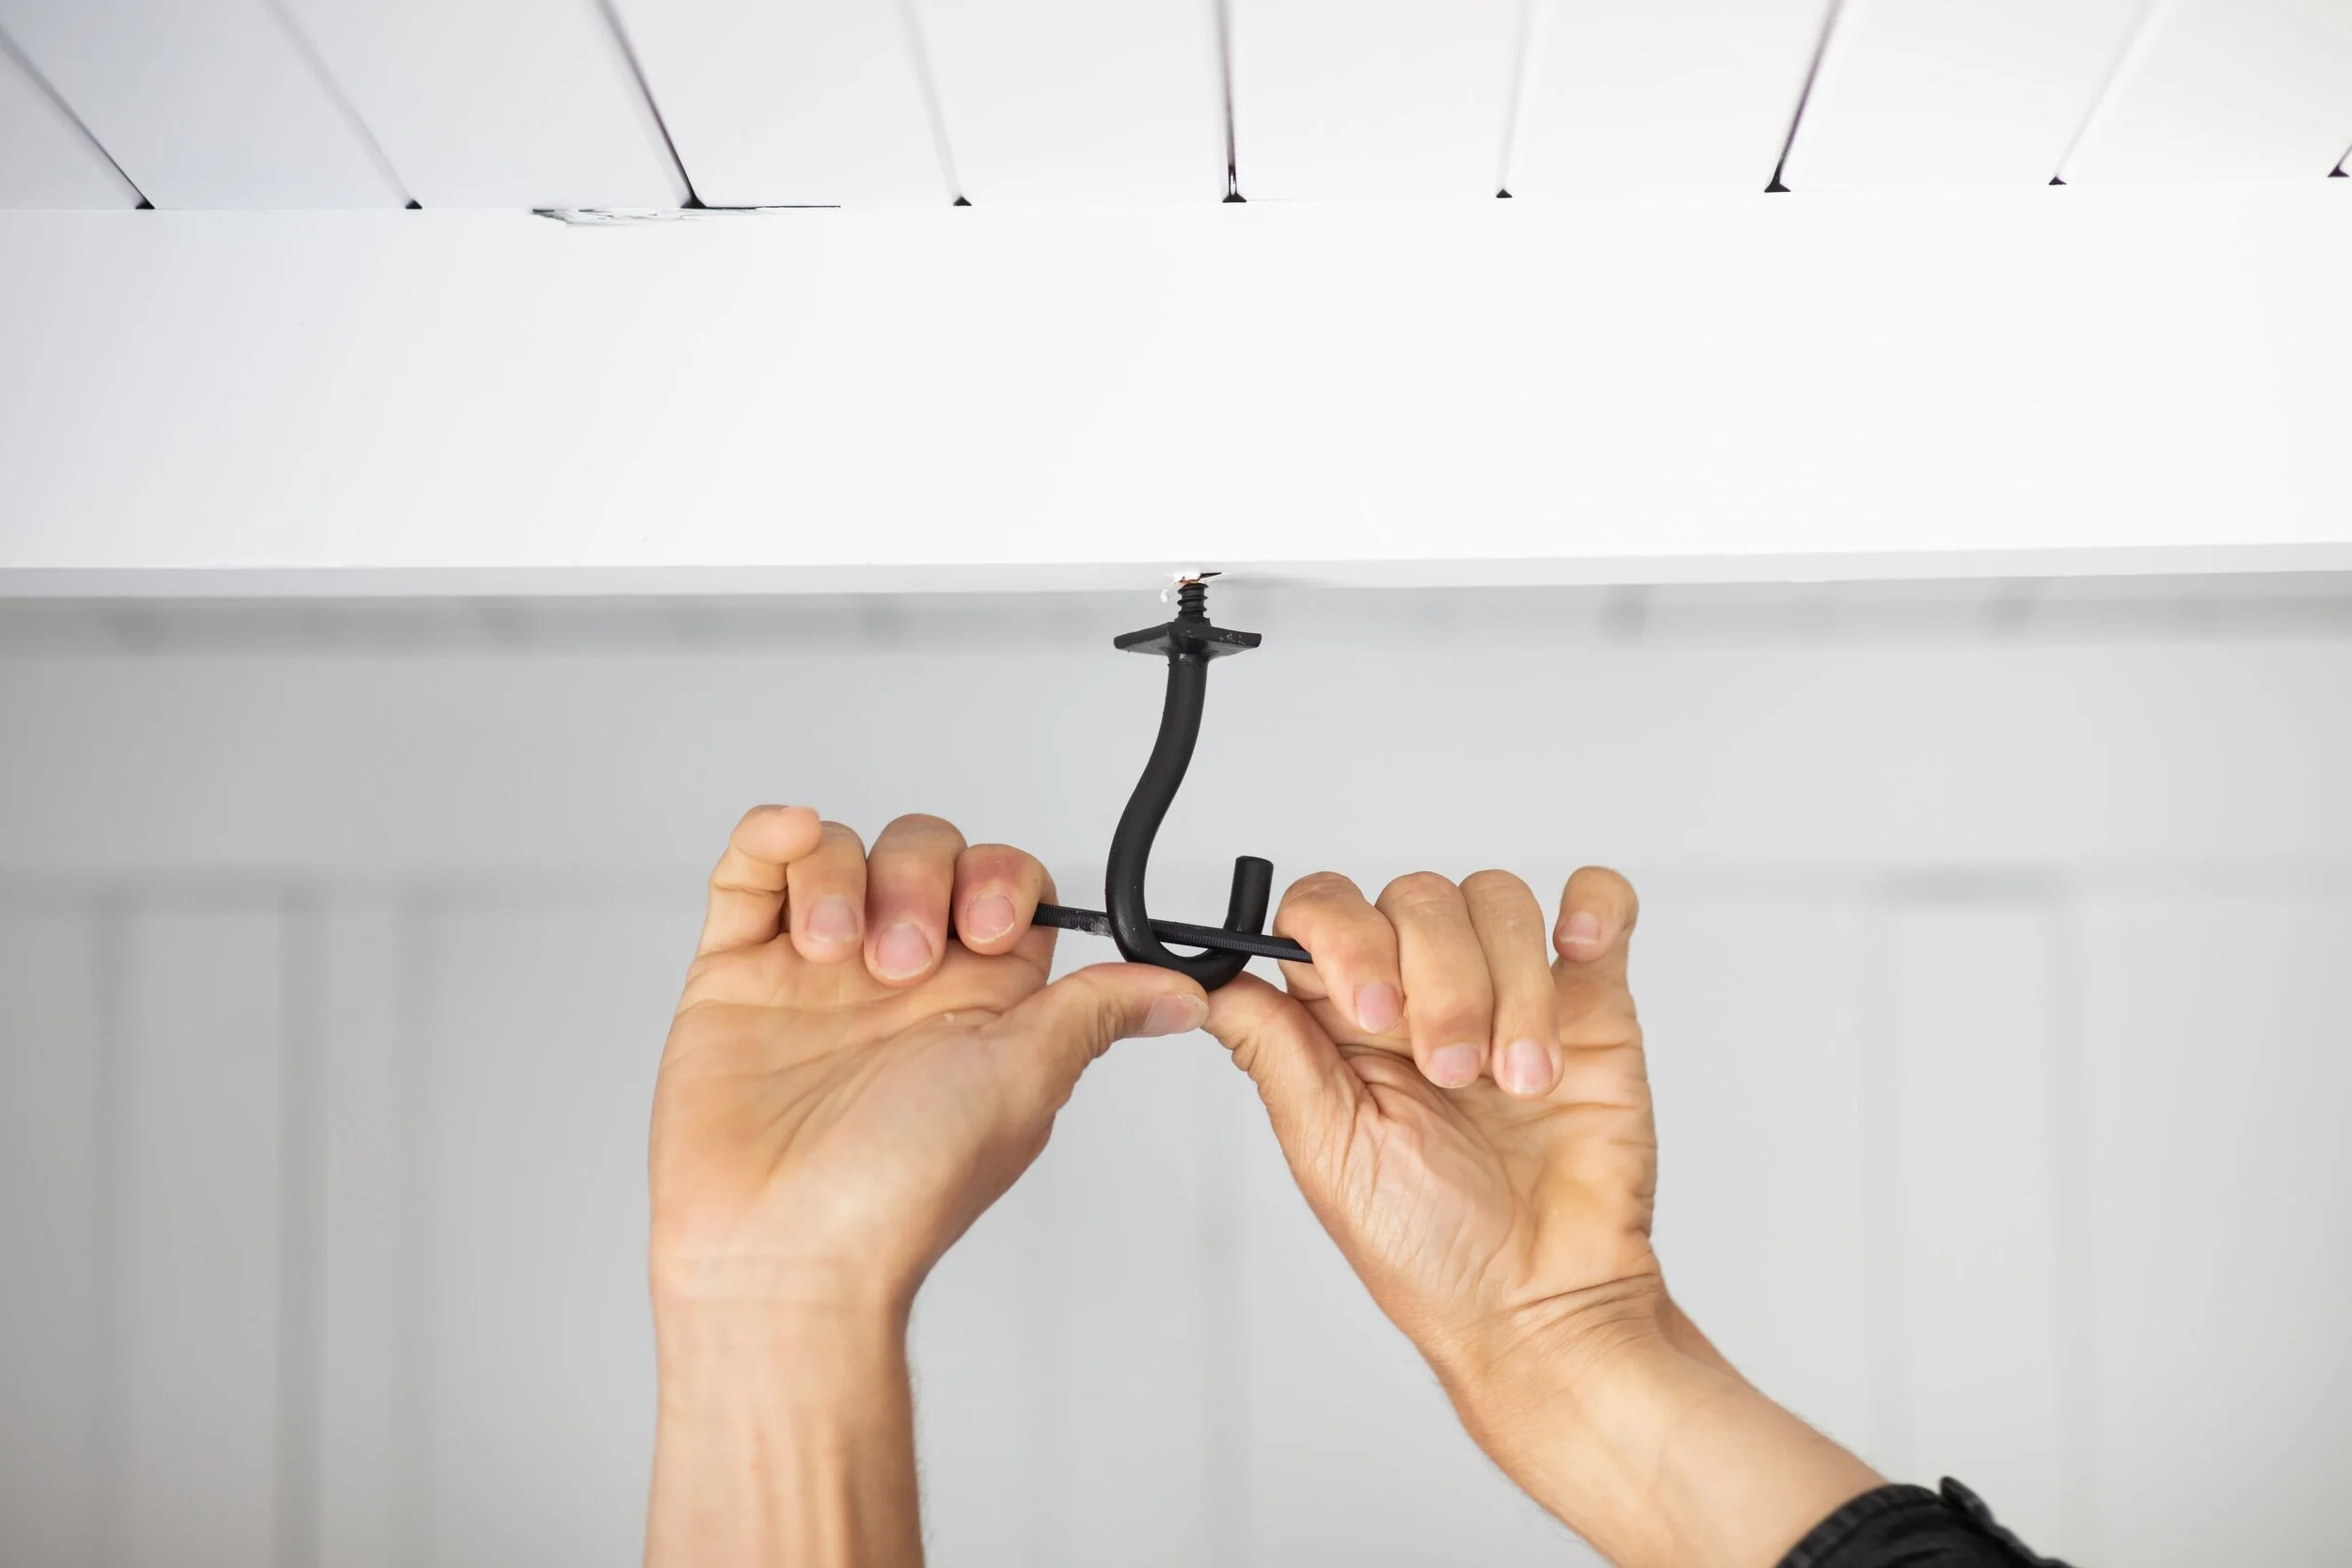
Screw the provided hook into the hole you just drilled. As turning the screw gets more challenging, you can use a long screw driver or other long, strong-but-thin object to create leverage to help screw in the screw. Cover the shaft of the object with tape or cloth to avoid scratching the finish of the hook. Stop when the flat metal plate is close to touching your ceiling material or beam.
Step Four:
We strongly recommend having someone assist you from here on out. Slowly slide the quilt (the one your unboxed CHIME is resting on) along the floor until it is beneath the installed hook. Have one person grab the looped end of your CHIME and slowly pick it up. Pause when one of you is holding your CHIME at waist-to-chest height.
Step Five:
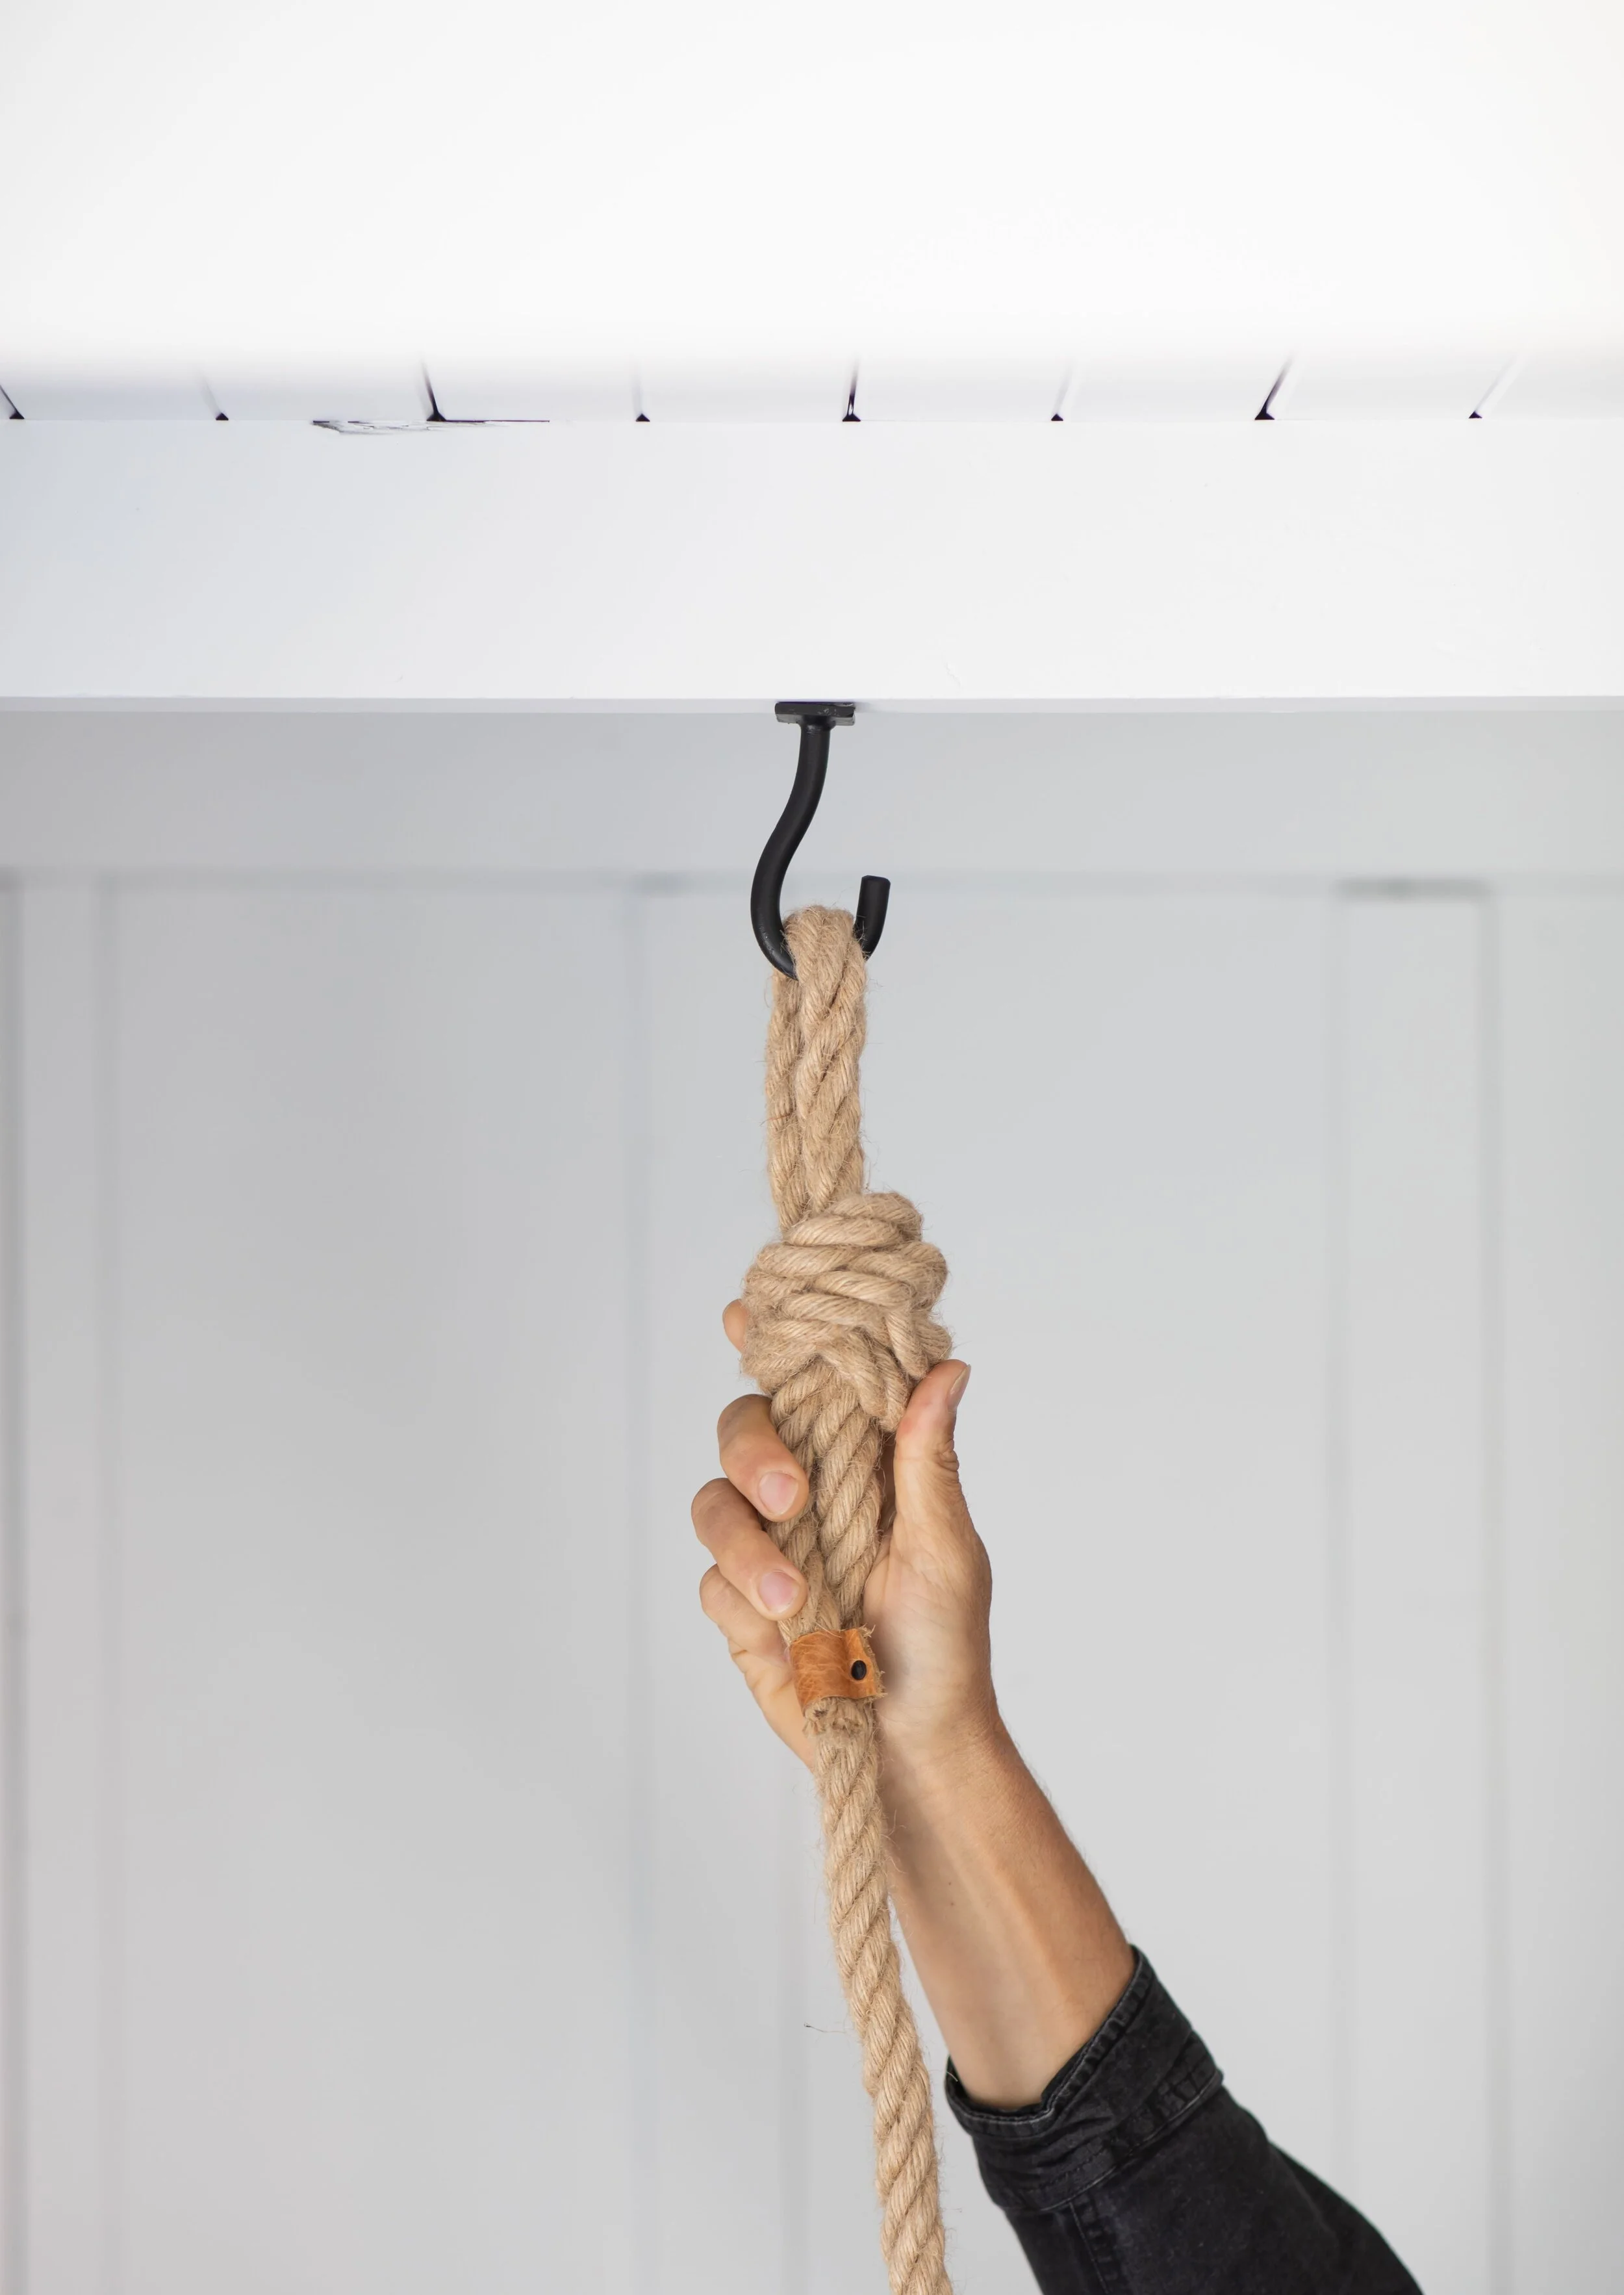
Have the person who is not holding your CHIME carefully climb the ladder to a height where they will be able to easily reach the installed hook. Hand the CHIME to the person on the ladder, hang your CHIME on the hook, and unwrap the butcher paper and packaging from each chime. Descend the ladder carefully.
Arranging and Cleaning your CHIME.

Now for the fun part. Your CHIME is hung and you want it to look just right. There’s no right way to arrange CHIME and each CHIME is different, so overall just go with it, and do what feels right.
We like it when the chimes are staggering and opposing each other such that the rope hangs more straight up and down, and the tiles take on a natural rhythm like music or pearls on a strand. Play with it, step back, and keep tweaking until you find the right groove.

As for the rope stacking, we like it when the stack forms a pile as though it were dripped onto the floor from on high - wide at the base, tapering more narrow at the top. Start by looping an 18-inch-ish circle with the end of the rope and then stack and fold on top of that loop until the stack forms a little hill of rope.
Like all things, CHIME will get dusty, but can be easily dusted with any standard handheld household duster. Once dusted, the chimes can be cleaned with water and a sponge. They are made from stoneware clay and have been fired and fully vitrified to withstand liquids and remain durable.
CHIME Shipping Guarantee.
Shipping pottery is challenging and breakage happens.
Upon receiving your CHIME, please immediately open and examine your order for any damage. If your CHIME arrives damaged, please immediately take photos of the item and damage to both the item and the original packaging. Please then send these photos and an explanation of the damage to supply@alexisgarrett.com. This must happen within 14 calendar days of you receiving the product for us to accept and process a claim.
PLEASE NOTE:
We will not replace a CHIME if it is damaged during unboxing, installation or after that. These instructions are provided to help you avoid breakage, so please do follow these instructions and take care when installing or handling your CHIME.
PLEASE ALSO NOTE:
We are strictly not liable for any injury or damage resulting from the location where you choose to install your CHIME or the method with which you install it. It is your responsibility to choose a location that is suitable and strong enough for your CHIME to hang, and for selecting an installer who is capable of installing your CHIME securely.
If you have any questions about this, the suitability of your chosen location, or any other matters regarding CHIME or its installation, please reach out to us at supply@alexisgarrett.com and we will get back to you as soon as we are able to help you out.
For more information on our order-related policies, click here or at the links in the footer below.
All photos: Stacy Bostrom Photography.
CHIME IS COPYRIGHT ALEXIS GARRETT DESIGN AND CLAY AND CRAFT, LLC, 2021. ALL RIGHTS RESERVED.